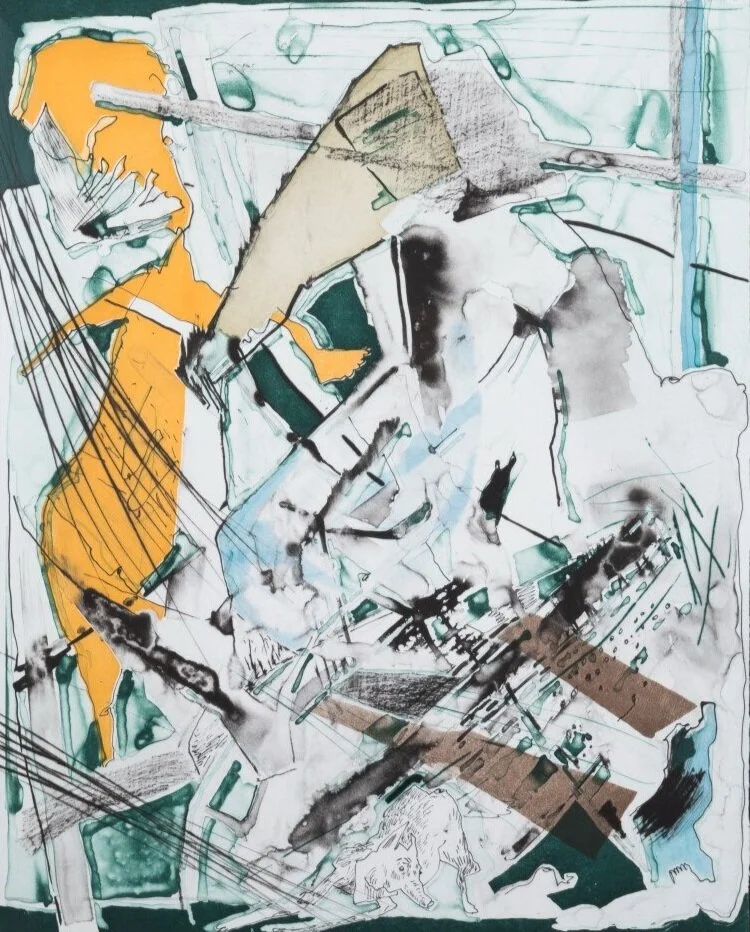
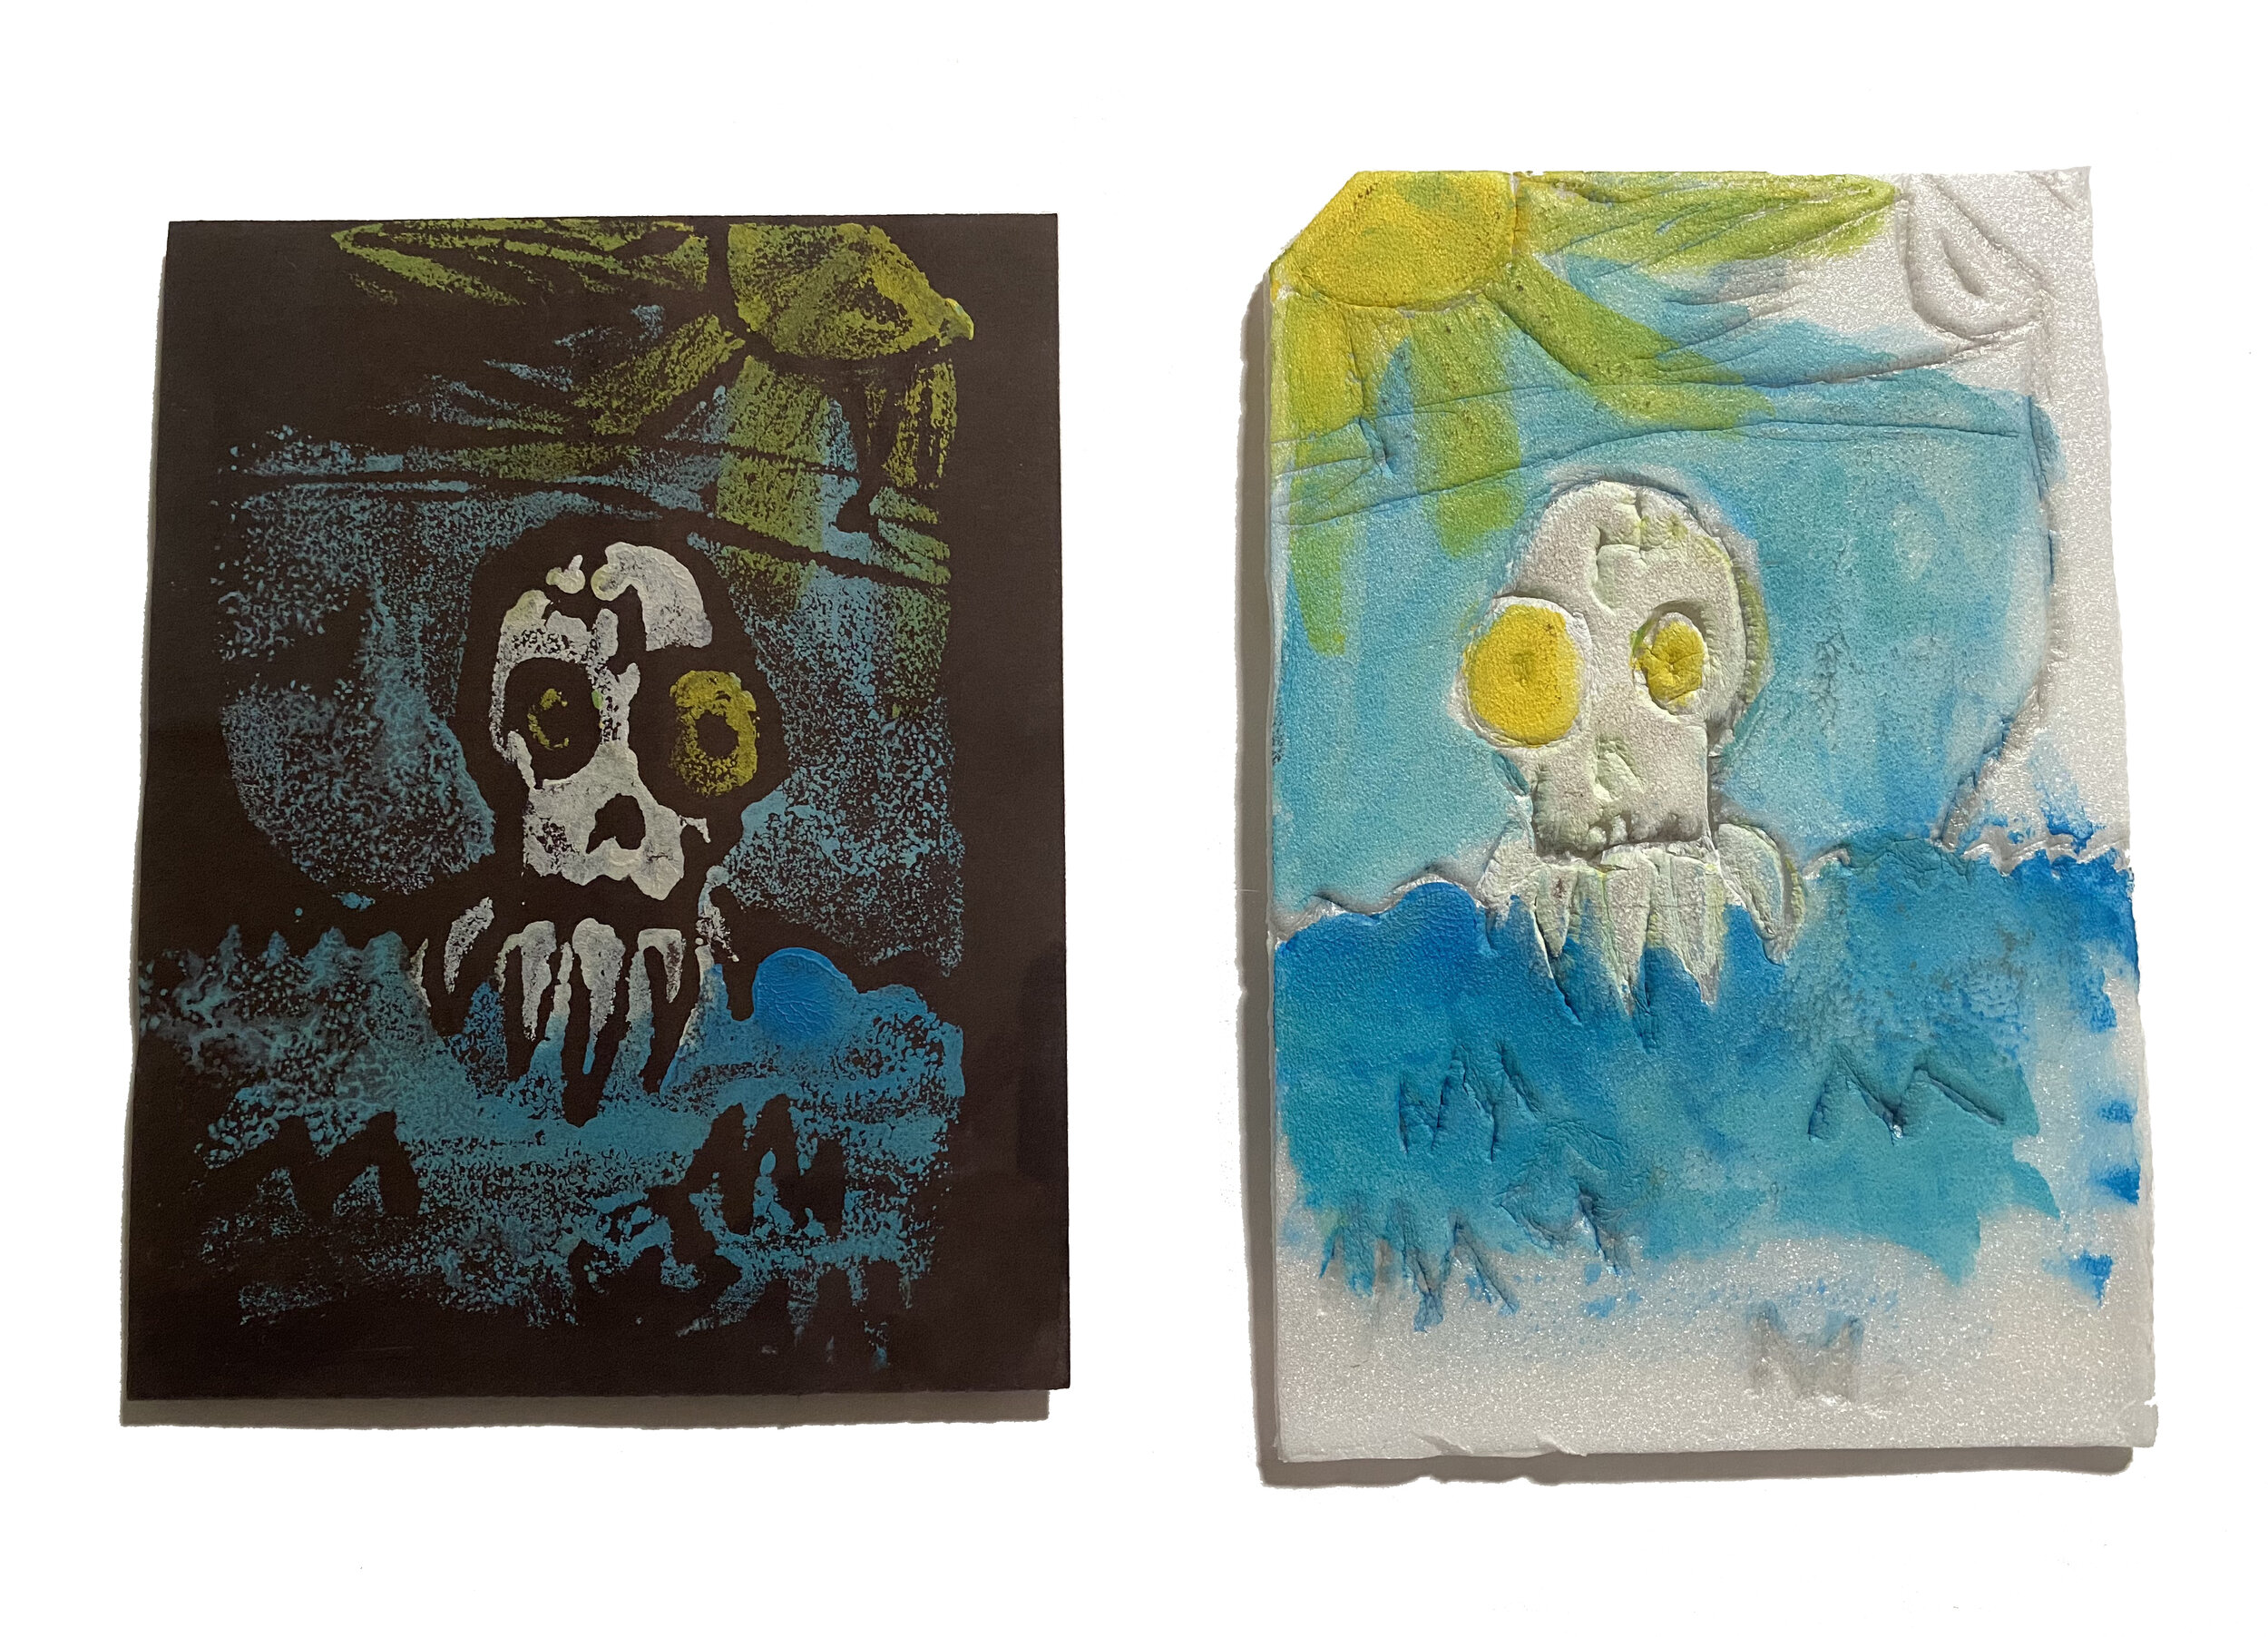
At-Home Art: Styrofoam Relief Prints
/
Art Focus: Line, Printmaking
Fine Motor Skills: Printing, drawing, painting
Time Duration: 30-45 mins
Vocabulary:
Printmaking
Relief
Repetition
Objective: To learn repetition in art and understand the printmaking process to create unique prints.
Materials:
Styrofoam tray or take out container
Acrylic paint (any colors)
Water
Paper
Pencil
Scissors
Wooden spoon
Paint brush
Brayer or paint roller (optional)
Instructions:
Cut the flat bottom out of a foam tray. This will be your printing plate.
Using a pencil, “carve” a design into the foam. Note: Any words will need to be carved backwards to print properly (like a rubber stamp).
Once you’ve finished, take your paintbrush, brayer, or paint roller and apply a thin layer of paint over the foam and your carved design. A bit of water may be needed to thin the paint.
While the paint is wet, place a sheet of paper over your printing plate; press and rub the entire sheet with the back of a wooden spoon.
Pull away the paper to reveal your masterpiece!
Reapply paint and repeat as many times as you desire.
Bonus: Before cleaning or reapplying paint your to print plate, make a "ghost print" from whatever paint is left. Lay a piece of tissue paper or other thin paper on the plate and gently rub with the palm of your hand to lift any remaining paint. If tissue paper is used, decoupage it over the original print for an extra ghosty effect. Wash print plate after usage to store for another day.
Artwork by Eli Chastain, son of Ellen Chastain, Education Manager