An Eye on Art: Art of the Ancient Americas
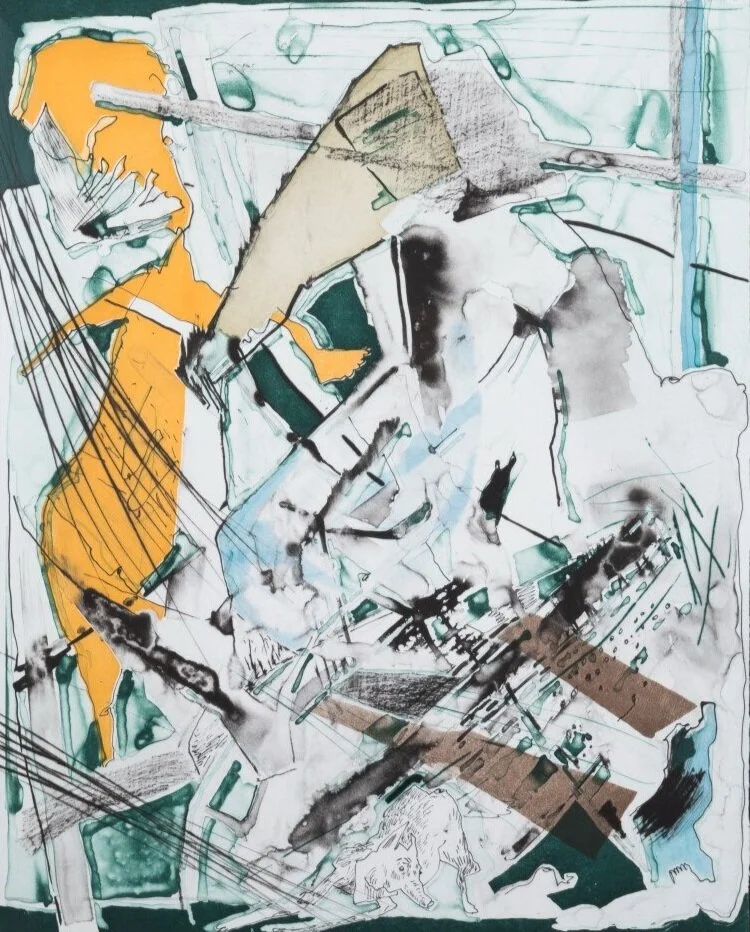
/Standing woman in adoration posture
c. 900-1350 CE, Central Coast, Peru
Gift of Dr. David & Mrs. Lucia Taxdal
Polk Museum of Art Permanent Collection 1991.38.9
Ancient American art was one of the earliest collecting areas adopted by the Polk Museum of Art. Initiated in the 1990s by a major gift from Winter Haven collectors Dr. David and Lucia Taxdal, the Museum’s Art of the Ancient Americas collection now features artifacts of many cultural groups from the present-day locations of Colombia, Costa Rica, Dominican Republic, El Salvador, Guatemala, Mexico, Nicaragua, and Peru. The objects that make up what was formerly known as our “Pre-Columbian” collection date from c. 800 BCE to c. 1500 CE and include ceramics, textiles, stone carvings, and precious metal pieces.
Reflection:
Of what material do you think this object is made?
Do you think you can replicate the materials and process behind the object’s creation right now at your own house?
From what other everyday materials might you be able to re-create this piece?
Activity
Chocolate Peanut Butter Cookies
Cookie Ingredients
¾ cup butter, softened
½ cup peanut butter
1 cup brown sugar
½ cup white sugar
2 large eggs
¼ tsp salt
½ tsp baking powder
3 ½ cups flour
½ cup chocolate chips
Directions
Preheat oven to 350F.
Cream together butter, peanut butter, and both sugars until well blended.
Add eggs and mix again.
Mix in salt and baking powder and scrape the sides of the bowl.
Add flour and mix. Your dough will look crumbly.
Use your hands to form the dough into a ball.
Cutting the Figures
Flatten your dough slightly and sandwich it between two pieces of parchment paper (preferred over using flour to prevent sticking, which will make your cookies drier). Roll the dough out evenly to about ⅜” thick for soft cookies. If you prefer crunchy cookies, roll the dough a little thinner, about ¼” thick.
Once your dough is rolled to your preferred thickness, you can begin cutting your shapes. Print and cut out the template on the last page of this activity sheet and set the template on top of your dough. Using a sharp knife, cut along the outline of the paper template and carefully transfer the cookies to a baking pan lined with parchment paper. Excess dough can be gathered and rolled again.
Bake the cookies for 7 minutes at 350°F. After removing the tray from the oven, leave the cookies on the tray to cool for about 20 minutes.
Decorating the Figures
Once the cookies are completely cool, begin melting the 1/2 cut of chocolate chips using a double boiler* or you can microwave the chocolate chips in 15-second intervals until melted. After the chocolate is melted, remove from heat and transfer to a decorating bag or plastic condiment bottles. Now you can decorate using the design from the artifact or create your own designs!
After you finish your chocolate decorations, place the cookies in the fridge for about 20 minutes to allow the chocolate to harden.
*DIY double boiler method: Heat a small pot of water on the stove until it boils and reduce to a simmer. Set a glass bowl on top of the pot so that it does not touch the water. Place ½ cup of chocolate chips in the bowl and use a spatula to slowly stir the chocolate as it melts.
Share and tag your beautiful creations with the hashtag #PMoAatHome!
Cookies created by Loren Plunkett Hicks, Collections Manager & Registrar


